One of the two new reports in version 18 of REIA Professional is the Cover Page. It is a single page of information about the property, a photo, and contact information for the seller, syndicator, agent or broker. Use it in conjunction with any other report to provide your branding.
![]()
Getting Started – General Guidelines #
This report is a bit different than many others in that you need to assemble information, some of which is not copied over from other worksheets. You may also customize the color of the font and the font face if you wish.
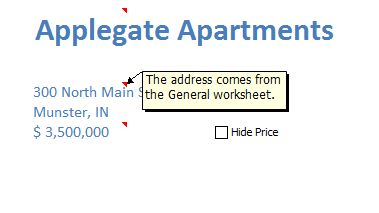
If you have not already done so, fill out the General worksheet. The property name, address, property price and logo will carry over automatically.
Make use of the cell notes. Point your mouse over the red triangles for guiding information on many of the data points within the report.
Property Photograph #
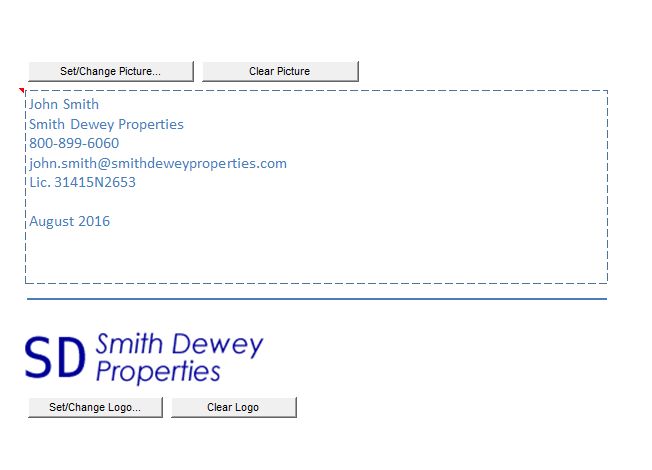
The property photograph can be added by clicking on the gray “Set/Change Picture” button. Browse to the location of the photo on your desktop computer. The photo will be sized to fit the space. Be sure to select a photo which is large enough for the space, that is, one which can fill most of the width of an 8-1/2″ by 11″ sheet of paper. If the photo is not large enough, it will be increased in size and will become blurry and/or pixelated.
You can clear the photo and start over by clicking on the “Clear Picture” button.
Contact Information #
Beneath the photograph is an area where you can add contact information such as your name, company, address, phone numbers, email, etc. We provide sample information as a guide but you can change this to whatever you require.
Click anywhere in the sample text and you will highlight a text area (rectangular region surrounded by a dashed line) You are now able to edit any of the existing text. Use the Enter key to add spaces.
Logo #
Lastly is the area for a logo. If you have already entered a logo on the General worksheet, it will appear here automatically. Adding a logo here first will place it only on this report, and not distribute the logo to other worksheets or reports.
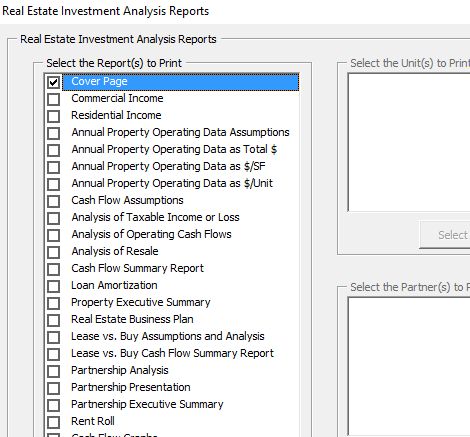
Printing the Report #
From the RealData menu, open the Print Reports window. Select the Cover Page report. Note that it is at the top of the list so will always appear as the first page if you are printing more than one report.